Monday, December 14, 2015

DEPTH of FIELD

Shallow

 This is one of my best photos for shallow because of the technique I used. Also, because how I included three different things in one photo, a background of the trees and sky, a person as another background, and a thing in front of the person face. The technique that I used was to get up closer to the leaf and have the camera focus only on the front object.
 This photo is also one of my best because of how the camera was able to get the littlest things in focus and the background blurred out. Also, how I was able to get two things in one photo, the ground and the location where it was taken.
This photo is one of my best as well because of  the lighting and how it starts fading and blurring slowly. I like this photo because of the technique I used to take the photo and how it gives a vibe of  cold weather and how it was foggy when I took this photo.

Deep

 This is one of my best photo for deep because of how everything was in focus. Also, the camera captured both the leafs on the floor and how it captured her smile clearly. I like this photo because of how there wasn't to much light shinning through the tree. 
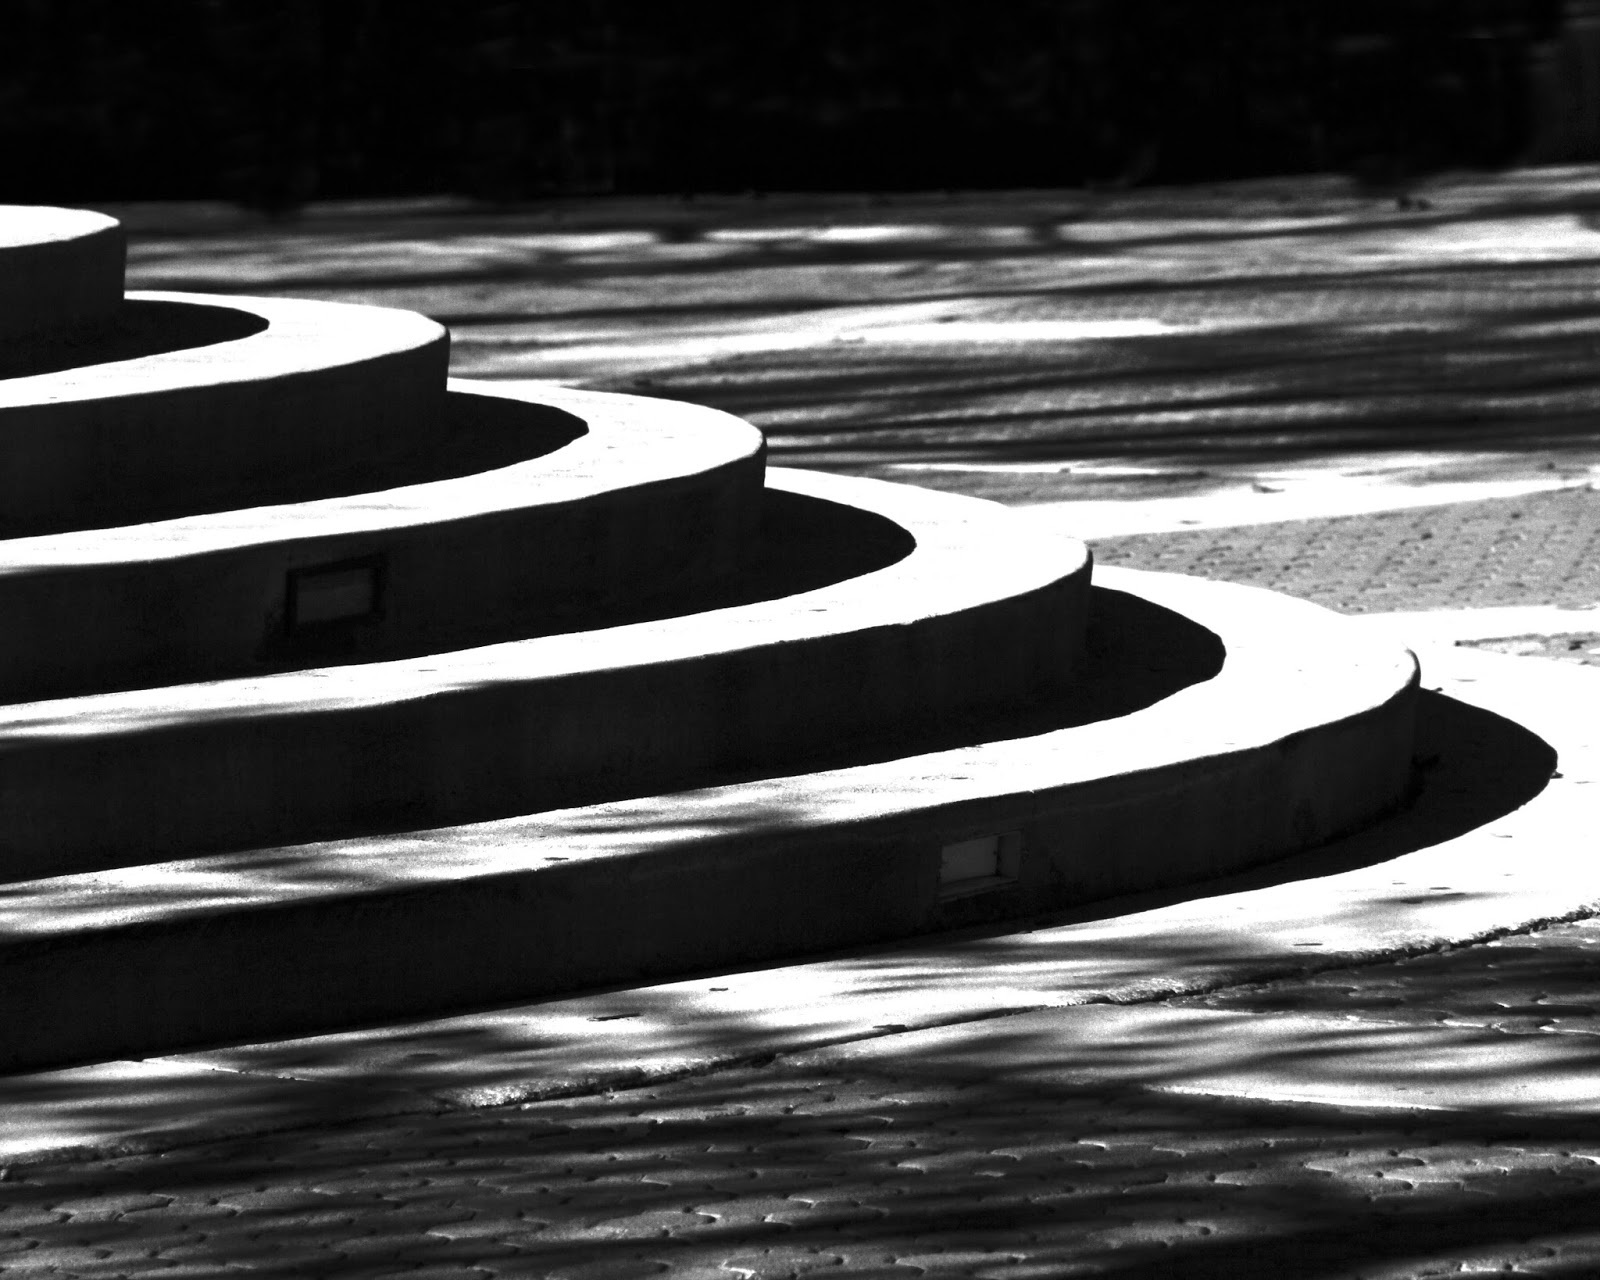
This photo is one of my best because of how the camera was so in focus. Also, how the camera made the sky so clear and how it was able to capture every object in the photo. I like this photo because the camera wasn't just focused on the fire hydrant but also the background.
This photo was also one of my best because of how the camera was in focused of the different color leafs. Also, how the lighting came out in the photo. I like this photo because how the sun was shinning on the leafs but wasn't shinning to much onto them.


Thursday, December 3, 2015

Creative Controls

Part 1: Answer the following questions (Use the Demo if you need to help you find the answers)
1.) The Aperture that makes a wider hole in the lens for light to come through is F/3.5.
2.) The Aperture that lets more light into the camera to hit the image sensor is F/5.6.
3.) The Aperture that keeps more foreground and background in focus is F11.
4.) The 1/10 seconds Shutter Speed is faster.
5.) The Shutter Speed that keeps the camera door open for more time is 1/125 seconds.
6.) The 1/200 seconds would be best for stopping action.

Part 2: Post all Photos from your set in order (1-12) Write a short explanation for how the images in each set are different and why.


Set One: For this set I used Aperture mode with the IOS at 400. For the first photo I set the aperture at F/3.5. The second photo I set the aperture at F/5.6. Finally, for the third photo I set the aperture at F/8. As you can see that all photos come out blurry which means I would need to change the F-stop to get the photo clear.


Set Two: In this set I used Shutter Speed Priority mode (TV) with the IOS at 400. I set the first photo at 1/10 second shutter speed. For the second photo I set the mode at 1/60 second shutter speed. The third photo the mode is set at 1/500. For these photos I set different speeds which comes out with the third photo being more clear.


Set Three: For this set I also used Shutter Speed mode but with the person moving. For these photos what I did was have her flip her hair to create a movement in using different shutter speeds. In the first photo I set the shutter speed at 1/10.  In the second photo I set the shutter speed at 1/60 and for the third photo I set it at 1/500. As you can see in the pictures, the lower the seconds the lighting doesn't come out good.


Set Four: For this last set it is on Shutter Speed mode as well but with the person physically moving. I also set all three photos at 1/10, 1/60, and 1/500. In these photo I focus the camera on the person on the right side of me first then when she was in front of I took the photos. As you can see the higher the seconds are more clear the picture comes out.

Part 3: Questions
1.) "Depth in Field" is how much the photo is focused. 
2.)Say I want to take a picture in dark lighting you would want to use a large aperture to take the photo so it will make the picture come out lighter. It will help me achieve by letting more light come into the camera.
3.) Different shutter speeds can affect your images because one the photo can either come out really blurry or really clear and two the light can either come out very light or come out with the perfect lighting.

Friday, November 27, 2015

~Personal Composition~

Rule of Thirds


Point of Interest: The girl in front of the vending machine
Placement: Main subject is everything in the photo but mostly on the girl in the right hand corner
Strength: The main subject is where the girl is placed in the photo.
Improvement: I would have liked to have her head turned facing the vending machine.

Point of Interest: The two trees
Placement: Main subject is the tree in the left side and the wall in the background
Strength: The main subject is the placement of the tree in the photo. So it could show the rule of thirds.
Improvement: I would have liked to change the brightness on the camera.

Point of Interest: Name tag
Placement: Main subjects are the name tag in the top left corner and the buttons
Strength: The main subject is the placement of the name tag in the photo, so it could represent the rule of thirds.
Improvement: I would have liked to add more detail to the objects in the photo.

Use Lines Effectively

Point of Interest: The boxes that is being stepped on
Placement: Main subject is in the center of the intersection
Strength: The main subject is to get a clear motion but also getting a clear background.
Improvement: I would have liked to get an better angle of taking the photo.

Point of Interest: The lines going directly up to the lines on the wall
Placement: Main subject is the diagonal linesStrength: The main subject is in the center of the image.
Improvement: I would have liked to get a different angle of the photo.

Point of Interest: The diagonal line in between the light side and shadow side
Placement: Main subject is placed in the mid - center
Strength: The main subject is cutting diagonally in half of the bright and dark sides in the image.
Improvement: I would have liked to change my position of taking the photo.

Fill the Frame

Point of Interest: The blocks having a crease in the middle
Placement: Main subject is close up in the mid - center
Strength: The main subject is on the two sides of the image with a close up view.
Improvement: I would like to change how close I was to the wall.

Point of Interest: The lines crosses through each other
Placement: Main subject is in the top
Strength: The main subject is in the mid - center but mainly also where in the top of the photo there's an X sign.
Improvement: I would have like to remove the spider web in the photo since it is a bit distracting.

Point of Interest: The green leafs 
Placement: Main subject is placed on the right top corner of the frame
Strength: The main subject is in mid - center  but mainly capturing the leaf forming a flower shape and the background is blurred out.
Improvement: I would have liked to get a better close up on the leafs.

Tuesday, November 17, 2015

Compostion

Rule of Thirds

This photo is the best example for the Rule of Thirds because if you notice the main focus is on the man in the corner even though he is not in the middle of the image. The purpose of the technique that the photographer used is called the rule of thirds. It is used to make the main subject in the photo look like it's not the main focus because of all the other things in the photo as well. For example, the colors also pulls the audiences attention rather than just the man in the photo.


Fill the Frame

 This photo is the best example for Fill the Frame because if you noticed that the main focus is on the frog. The reason being the technique that the photographer used was filling the frame. Filling the frame is when you get up close to the object making the everything else being blurred out to keep the main thing in the photo to pop out the most. For example, in this photo the main focus was on the frog. In order block everything around it out just get closer or zoom into the object.


Use Lines Effectively

This is the best example for Use Lines Effectively because if you can notice the main focus in the photo is the lines. The purpose of the technique, use lines effectively, is to create a mood and also it is used to lead the eyes through the image. In this case, the photographer grabbed our attention by using a swirl leading us deeper in the picture. 


For the best example of each composition technique (This is only three pictures that your are writing about... 1 for Rule of Thirds, 1 for Fill the Frame and 1 for Use of Lines) write a short paragraph about how the photographer used the technique effectively.