Wednesday, February 24, 2016
Wednesday, February 3, 2016
PANNING
The technical challenges that I had with the camera settings was the brightness being to bright and having to change the shutter speed multiple times to get the picture. I had to change the range to -2 for the brightness and the changing the shutter speed to a very low exposure. The challenges that I had was having to take the photo multiple times because of people interfering and because of the face coming out blurry.
The technical challenges that I had with the camera settings was the shutter speed. I had to change the shutter speed to a higher speed to take the photo. The challenges that I had was having to take the photo multiple times because of the speed and because of the head moving to face.
The technical challenges that I had was the burst. I had to take the camera settings off of burst to take the photo. The challenges that I had was getting one person's face not blurry.
The technical challenges that I had was the shutter speed. I had to set the exposure time at a high timing. The challenges that I had with taking the photo was switching back and forth to one lane to the other lane. The lane that was closer to me didn't work with me because the car was to close to take the photo.
Successful:
I think the most successful thing that I did for this project was taking the photo of the car and setting the shutter speed at the appropriate exposure because I was able to get the object not to be blurry but I got everything around it to be blurry.
Wednesday, January 20, 2016
SHUTTER SPEED
JUMPING
This photo was taken with the F-stop at F/4, the shutter speed at 1/2500 seconds, and the IOS set at 400. This photo was a little challenging due to of the lighting because the angle that I was taking at first was coming out dark and also I had to change the camera to multiply burst to get the picture.
This photo was taken with the F-stop at F/3.4, the shutter speed at 1/1600 seconds, and the IOS set at 100. This photo was challenging because I had to have her jump multiply times to get the picture and also I had change the camera angle.
INTERESTING
For this photo I'd set the F-stop at F/4, the shutter speed at 1/1000 seconds, and the IOS set at 125.
This photo was challenging because I had to have the person to redo the motion with the dirt multiply times, I had to change the position that I was at, and had to change the angle of the camera.
For this I'd set the F-stop at F/4.5, the shutter speed at 1/2000 seconds, and the IOS set at 400. This photo was a little challenging due to the sunlight and the angle that it was taken at.
Tuesday, January 12, 2016
~Photoshop Effects~
The most parts that I enjoy the most is making montages, making things 3D, and creating the images into art. For example, the water color one.
The most challenging part of using photoshop is using the select tool.
I want to be able to retouch faces, create painterly effect, and cropping images better.
Monday, December 14, 2015
DEPTH of FIELD
Shallow
This is one of my best photos for shallow because of the technique I used. Also, because how I included three different things in one photo, a background of the trees and sky, a person as another background, and a thing in front of the person face. The technique that I used was to get up closer to the leaf and have the camera focus only on the front object.
This photo is also one of my best because of how the camera was able to get the littlest things in focus and the background blurred out. Also, how I was able to get two things in one photo, the ground and the location where it was taken.
This photo is one of my best as well because of the lighting and how it starts fading and blurring slowly. I like this photo because of the technique I used to take the photo and how it gives a vibe of cold weather and how it was foggy when I took this photo.
Deep
This is one of my best photo for deep because of how everything was in focus. Also, the camera captured both the leafs on the floor and how it captured her smile clearly. I like this photo because of how there wasn't to much light shinning through the tree.
This photo is one of my best because of how the camera was so in focus. Also, how the camera made the sky so clear and how it was able to capture every object in the photo. I like this photo because the camera wasn't just focused on the fire hydrant but also the background.
This photo was also one of my best because of how the camera was in focused of the different color leafs. Also, how the lighting came out in the photo. I like this photo because how the sun was shinning on the leafs but wasn't shinning to much onto them.
Thursday, December 3, 2015
Creative Controls
Part 1: Answer the following questions (Use the Demo if you need to help you find the answers)
1.) The Aperture that makes a wider hole in the lens for light to come through is F/3.5.
2.) The Aperture that lets more light into the camera to hit the image sensor is F/5.6.
3.) The Aperture that keeps more foreground and background in focus is F11.
4.) The 1/10 seconds Shutter Speed is faster.
5.) The Shutter Speed that keeps the camera door open for more time is 1/125 seconds.
6.) The 1/200 seconds would be best for stopping action.
Part 2: Post all Photos from your set in order (1-12) Write a short explanation for how the images in each set are different and why.
Set One: For this set I used Aperture mode with the IOS at 400. For the first photo I set the aperture at F/3.5. The second photo I set the aperture at F/5.6. Finally, for the third photo I set the aperture at F/8. As you can see that all photos come out blurry which means I would need to change the F-stop to get the photo clear.
Set Two: In this set I used Shutter Speed Priority mode (TV) with the IOS at 400. I set the first photo at 1/10 second shutter speed. For the second photo I set the mode at 1/60 second shutter speed. The third photo the mode is set at 1/500. For these photos I set different speeds which comes out with the third photo being more clear.
Set Three: For this set I also used Shutter Speed mode but with the person moving. For these photos what I did was have her flip her hair to create a movement in using different shutter speeds. In the first photo I set the shutter speed at 1/10. In the second photo I set the shutter speed at 1/60 and for the third photo I set it at 1/500. As you can see in the pictures, the lower the seconds the lighting doesn't come out good.
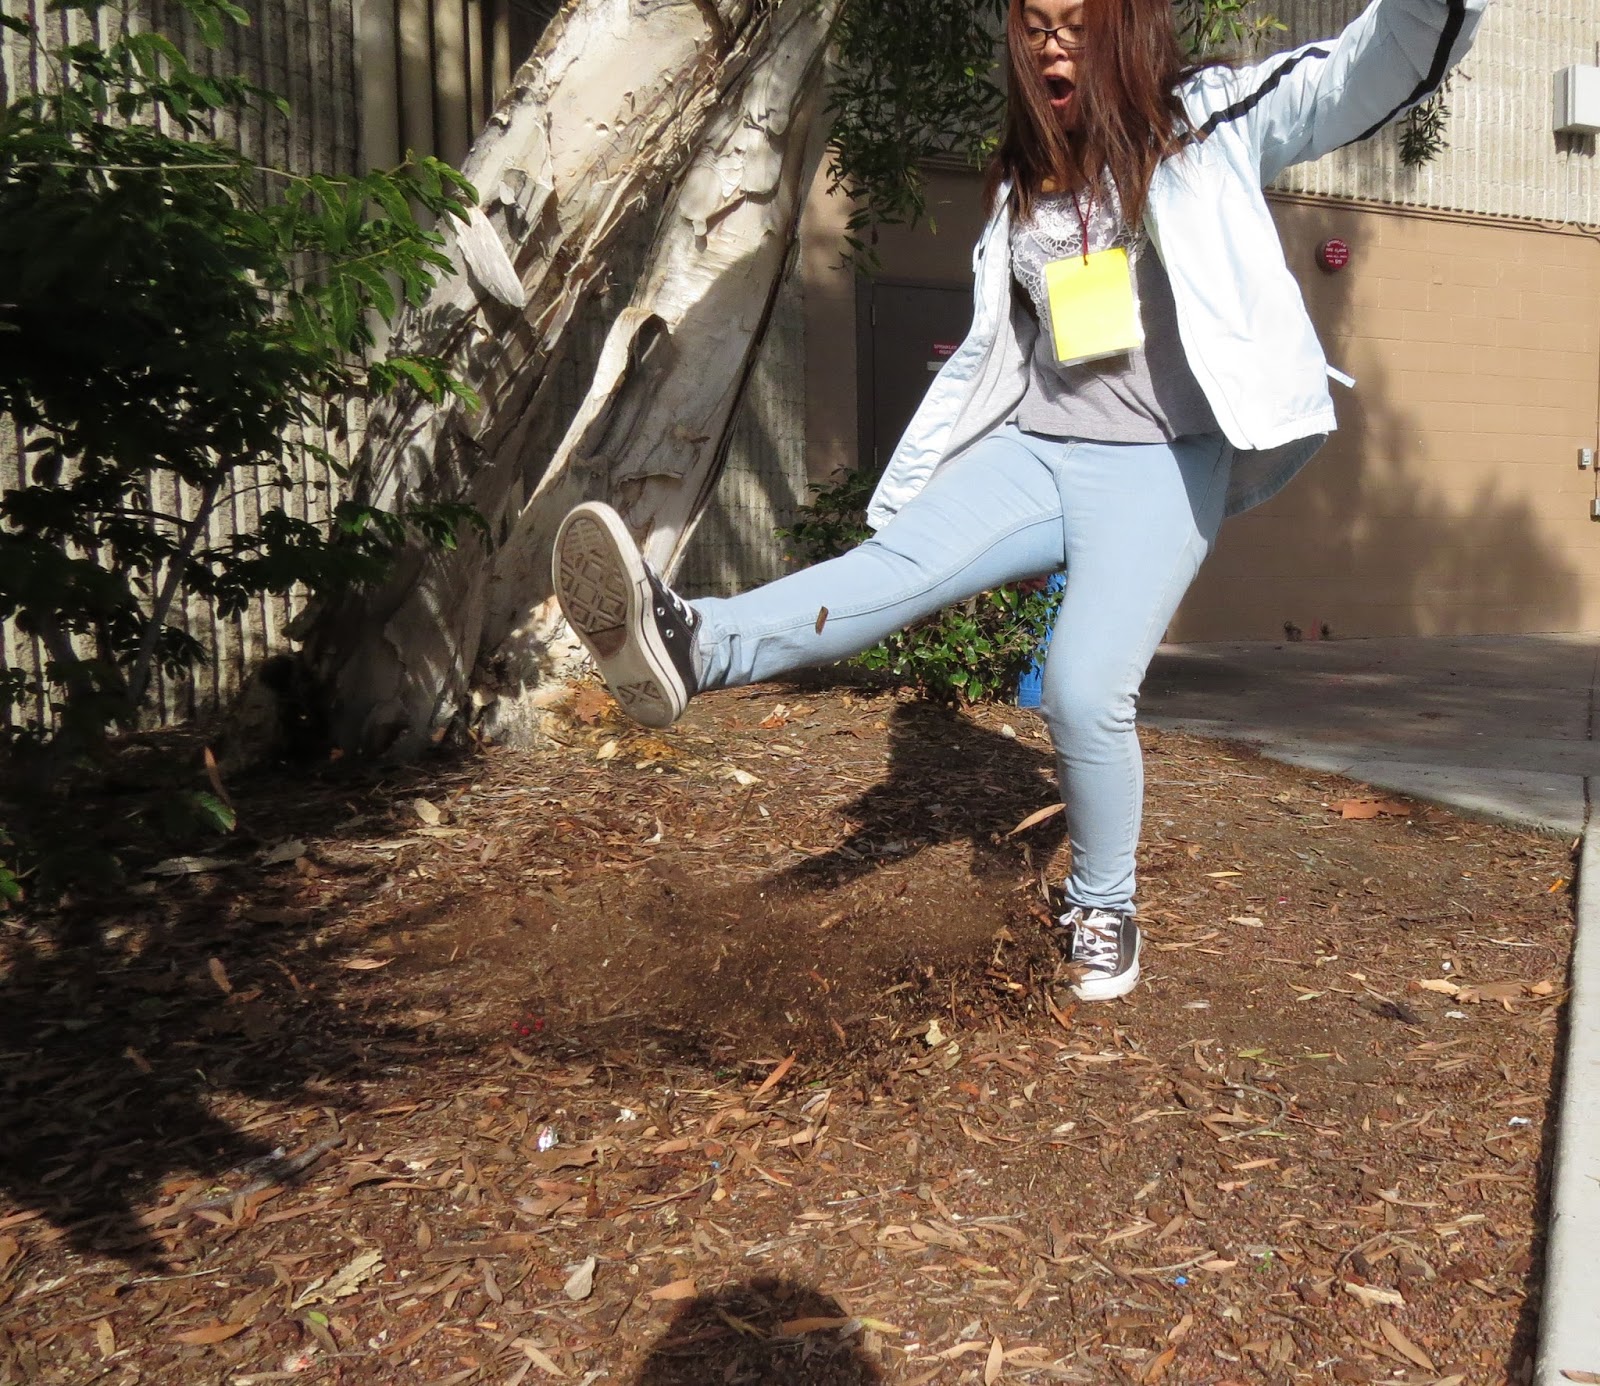
Set Four: For this last set it is on Shutter Speed mode as well but with the person physically moving. I also set all three photos at 1/10, 1/60, and 1/500. In these photo I focus the camera on the person on the right side of me first then when she was in front of I took the photos. As you can see the higher the seconds are more clear the picture comes out.
Part 3: Questions
1.) "Depth in Field" is how much the photo is focused.
2.)Say I want to take a picture in dark lighting you would want to use a large aperture to take the photo so it will make the picture come out lighter. It will help me achieve by letting more light come into the camera.
3.) Different shutter speeds can affect your images because one the photo can either come out really blurry or really clear and two the light can either come out very light or come out with the perfect lighting.
Friday, November 27, 2015
~Personal Composition~
Rule of Thirds
Point of Interest: The girl in front of the vending machine
Placement: Main subject is everything in the photo but mostly on the girl in the right hand corner
Strength: The main subject is where the girl is placed in the photo.
Improvement: I would have liked to have her head turned facing the vending machine.
Placement: Main subject is the tree in the left side and the wall in the background
Strength: The main subject is the placement of the tree in the photo. So it could show the rule of thirds.
Improvement: I would have liked to change the brightness on the camera.
Point of Interest: Name tag
Placement: Main subjects are the name tag in the top left corner and the buttonsStrength: The main subject is the placement of the name tag in the photo, so it could represent the rule of thirds.
Improvement: I would have liked to add more detail to the objects in the photo.
Use Lines Effectively
Point of Interest: The boxes that is being stepped onPlacement: Main subject is in the center of the intersection
Strength: The main subject is to get a clear motion but also getting a clear background.
Improvement: I would have liked to get an better angle of taking the photo.
Point of Interest: The lines going directly up to the lines on the wall
Placement: Main subject is the diagonal linesStrength: The main subject is in the center of the image.Improvement: I would have liked to get a different angle of the photo.
Placement: Main subject is placed in the mid - center
Strength: The main subject is cutting diagonally in half of the bright and dark sides in the image.
Improvement: I would have liked to change my position of taking the photo.
Fill the Frame
Point of Interest: The blocks having a crease in the middlePlacement: Main subject is close up in the mid - center
Strength: The main subject is on the two sides of the image with a close up view.
Improvement: I would like to change how close I was to the wall.
Placement: Main subject is in the top
Strength: The main subject is in the mid - center but mainly also where in the top of the photo there's an X sign.
Improvement: I would have like to remove the spider web in the photo since it is a bit distracting.
Placement: Main subject is placed on the right top corner of the frame
Strength: The main subject is in mid - center but mainly capturing the leaf forming a flower shape and the background is blurred out.
Improvement: I would have liked to get a better close up on the leafs.
Subscribe to:
Posts (Atom)